
10 Heat Transfer Vinyl Tips for Beginners

Heat transfer vinyl is one of the newest products to join the Close To My Heart ranks. We are absolutely loving working with it and are eager to help anyone who may be new to vinyl discover practical tips, tricks, and uses for this awesome material! Whether you’re applying it on an album cover or directly onto your cards or scrapbook pages, heat transfer vinyl is an awesome, multi-use medium, and it’s definitely one of our favorites. To address some tricky questions or to simply just get you started on the road to using heat transfer vinyl in your own crafts, we’ve put together a list of ten tips for vinyl beginners.
1. Keep the carrier sheet intact. The carrier sheet is the film backing on the vinyl that is there to keep your vinyl designs together. It is important that you do not cut through it. If you do, you may end up with various separate pieces that make up your design, which will make it a lot harder to position and apply to your project. To keep the carrier sheet intact, always make sure that the shiny side of the vinyl is facing DOWN when you position it on your cutting mat and that your cutting machine is set to vinyl.

2. Use a scraper tool to remove any bubbles and smooth your vinyl on your cutting mat. Having bubbles in your vinyl will potentially result in messy application. As you apply vinyl to your cutting mat, gently glide a scraper tool over the surface for a flawlessly smooth cutting surface.

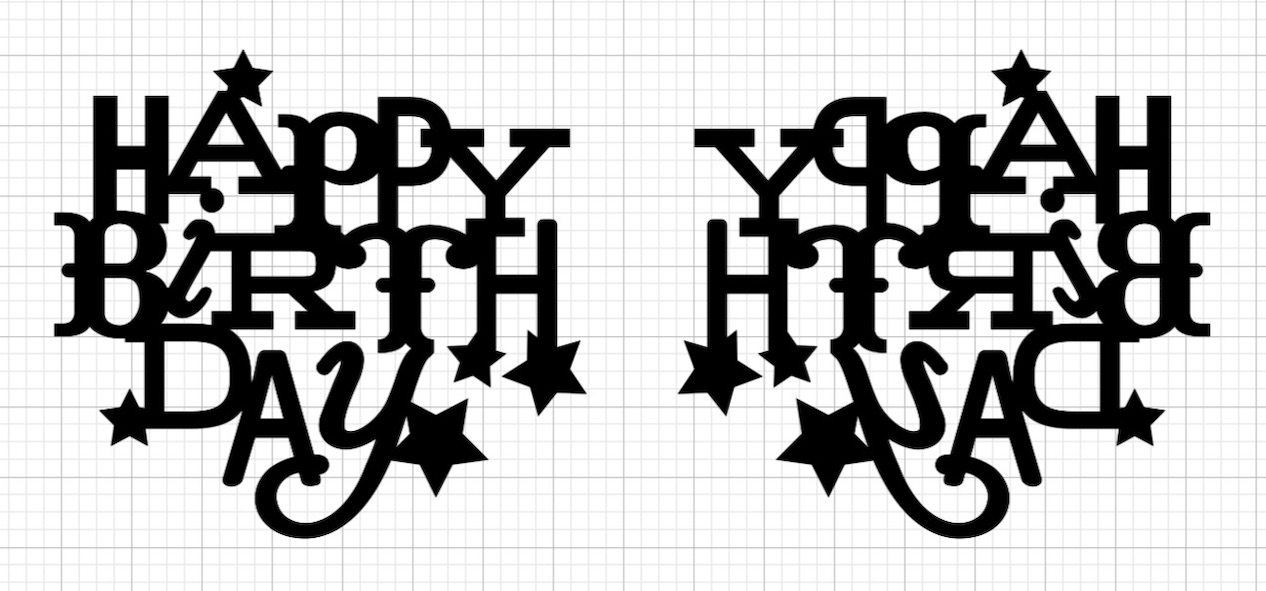
3. Always cut the mirror image of your vinyl designs. When applying heat transfer vinyl onto a project, the carrier sheet will be facing UP. That means, when you cut your designs with the carrier sheet facing DOWN (as discussed in tip #1) you’ll want to cut a mirror image of how you want the final image to appear on your project. Otherwise, you’ll end up cutting all your project pieces backwards. This is mostly a problem if you’re using words in your design.
In Cricut Design Space™, you can accomplish this by inserting your images or text on your Design Space canvas, and selecting the “Flip” option, located on the toolbar at the top of the page. By flipping your image horizontally, you’ll be able to cut the mirror image of each desired shape without jeopardizing the carrier sheet.
4. Once you’ve cut your image in the vinyl, you’ll need to remove the excess vinyl from the carrier sheet before applying it to your project. This process is called weeding. To make weeding easier, heat your work surface for a few seconds, then weed over the heated surface. The heat will loosen the vinyl from the carrier sheet, making it easier to peel off the excess.
5. For better results, heat your project for a few seconds before placing the vinyl on it. To ensure that you don’t scorch your project, use a protective sheet between your heat source and the project surface. You will need to purchase a protective sheet separately from most heat presses. If you don’t have ready access to a protective sheet or you don’t wish to purchase one, you can use a thin t-shirt or towel to shield your project. If desired, you can also use this protection as you apply the vinyl to your project.

6. When you get ready to apply the vinyl to your project surface, use a little bit of pressure on the heat press for better and faster application. You don’t need to put your entire weight onto your press, but a small amount of pressure is recommended.
7. Don’t over-press your vinyl by keeping heat on it for too long. Start with 10–15 seconds and add more time if needed. Most heat presses come with an adjustable timer to help you keep track of your time.

8. If you’re using an iron, you’ll need to keep a closer eye on your project to prevent scorching. Since heat settings vary, start on a lower heat setting and work up as needed.
9. After applying heat transfer vinyl, you can peel the carrier sheet away from the project’s surface while it’s still hot. If you’re working with glitter vinyl, however, it’s best to peel it when it’s warm. (Just be sure you don’t burn your fingers!)
10. If you want to layer your vinyl, you can! However, we recommend that you don’t put any layers on top of glitter vinyl. The surface of the glitter vinyl will prevent any other vinyl placed on top of it from adhering and sealing properly. You can layer glitter pieces over other types of vinyl, but if you’re incorporating glitter vinyl into your projects, leave it on top, as you see in the photo below.

We hope this closer look at vinyl has helped you get excited about this awesome material! As a special treat, we’re giving away a custom vinyl pack to three lucky readers! These custom packs will include one 11.8″ x 12″ sheet of each of the four different heat transfer vinyls featured in today’s blog artwork (1 White, 1 Black, 1 Silver Glitter, and 1 Galaxy Black Glitter). For a chance to win, make sure you’re subscribed to this blog and leave a comment below telling us what you are creating or want to create with heat transfer vinyl! All entries must be in by 2 p.m. Wednesday, January 29, MST. Contest winners will be notified via email. Good luck! 😉
Recipes
12″ x 12″ Moments like This LayoutD1903 My Acrylix® Celebrate Today—Scrapbooking Stamp Set, X7252S Celebrate Today Paper Packet + Sticker Sheet, X6036 Ballerina Cardstock, X5974 Raspberry Cardstock, 1385 White Daisy Cardstock, Z3571 White Heat Transfer Vinyl,Z3578 Galaxy Black Glitter Heat Transfer Vinyl, Z3271 Archival Black Exclusive Inks™ Stamp Pad, Z2812 Raspberry Exclusive Inks™ Stamp Pad, Z4304 Silver Loose Sequins, Cricut® Flower Market Collection, Cricut EasyPress™ 2, Sewing Machine
8½” x 11″ Happy Birthday Album CoverZ5309 Ballerina 8½” x 11″ Everyday Life™ Album, Z3571 White Heat Transfer Vinyl, Z3572 Black Heat Transfer Vinyl, Z3576 Silver Glitter Heat Transfer Vinyl, Cricut® Artistry Collection, Cricut EasyPress™ 2
Basic Shapes#M36989A